In the Studio
Lino Printmaking: a brief description
“Oh! I did that at school”
Well, yes. But I think you’ll find what I do is a little more involved.
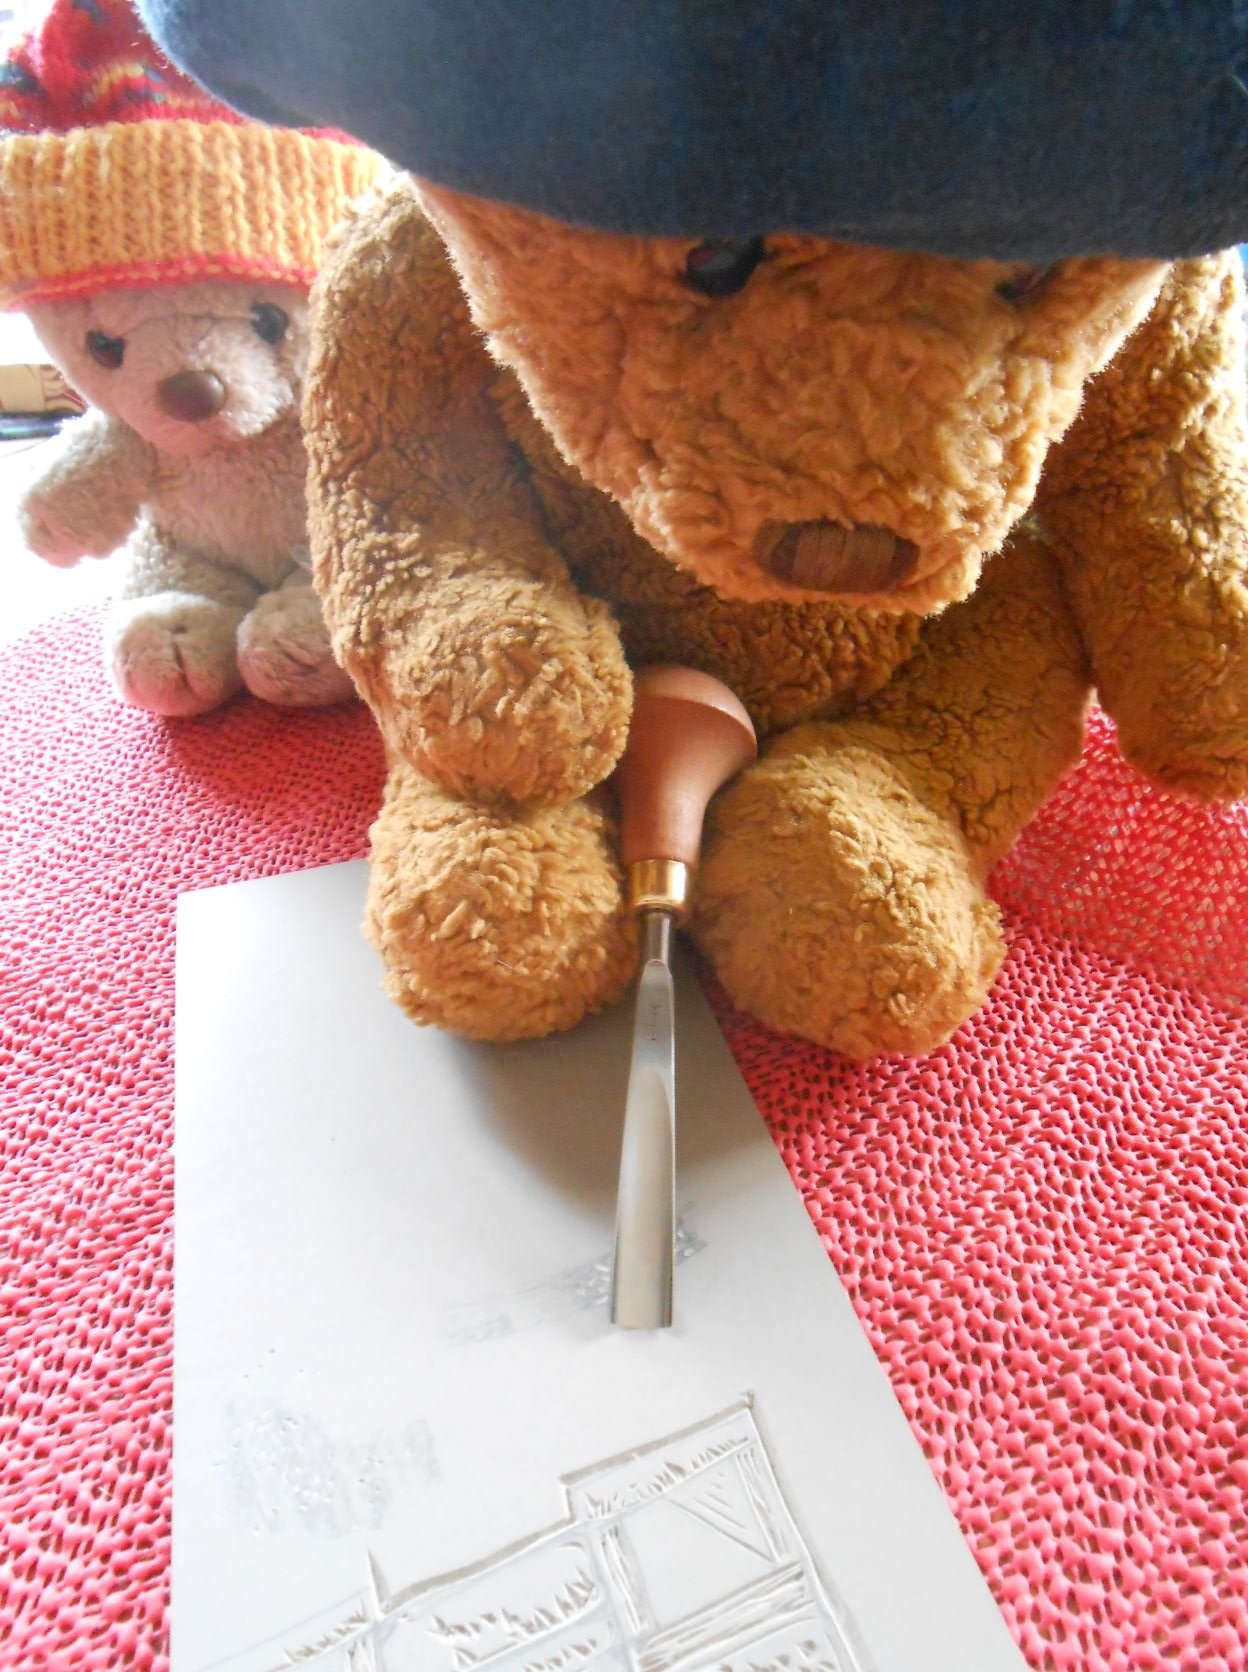
Firstly: I carve my design (in reverse - printmakers must do everything backwards so that it prints the right way round) onto linoleum blocks (one for each colour used. Typically I will use between 4 & 6). This leaves behind all the areas that are to be inked up.
Secondly: I ink up and print the blocks one at a time to gradually build up the different layers (waiting for each one to dry) until the final image is revealed.
Thirdly: Repeat step 2 for every print in the edition – between 10 & 25 times
Whilst the above may seem simple enough here are some other factors that have to be considered:
Each block must be carved and printed so that it lines up exactly with all the other blocks
Each block must be as consistently inked as possible to get a reasonable uniformity between prints.
Press pressure, different papers, different inks and interference from cats will all affect the finished prints and need to be taken into consideration.
So, maybe not quite “like you did at school”!


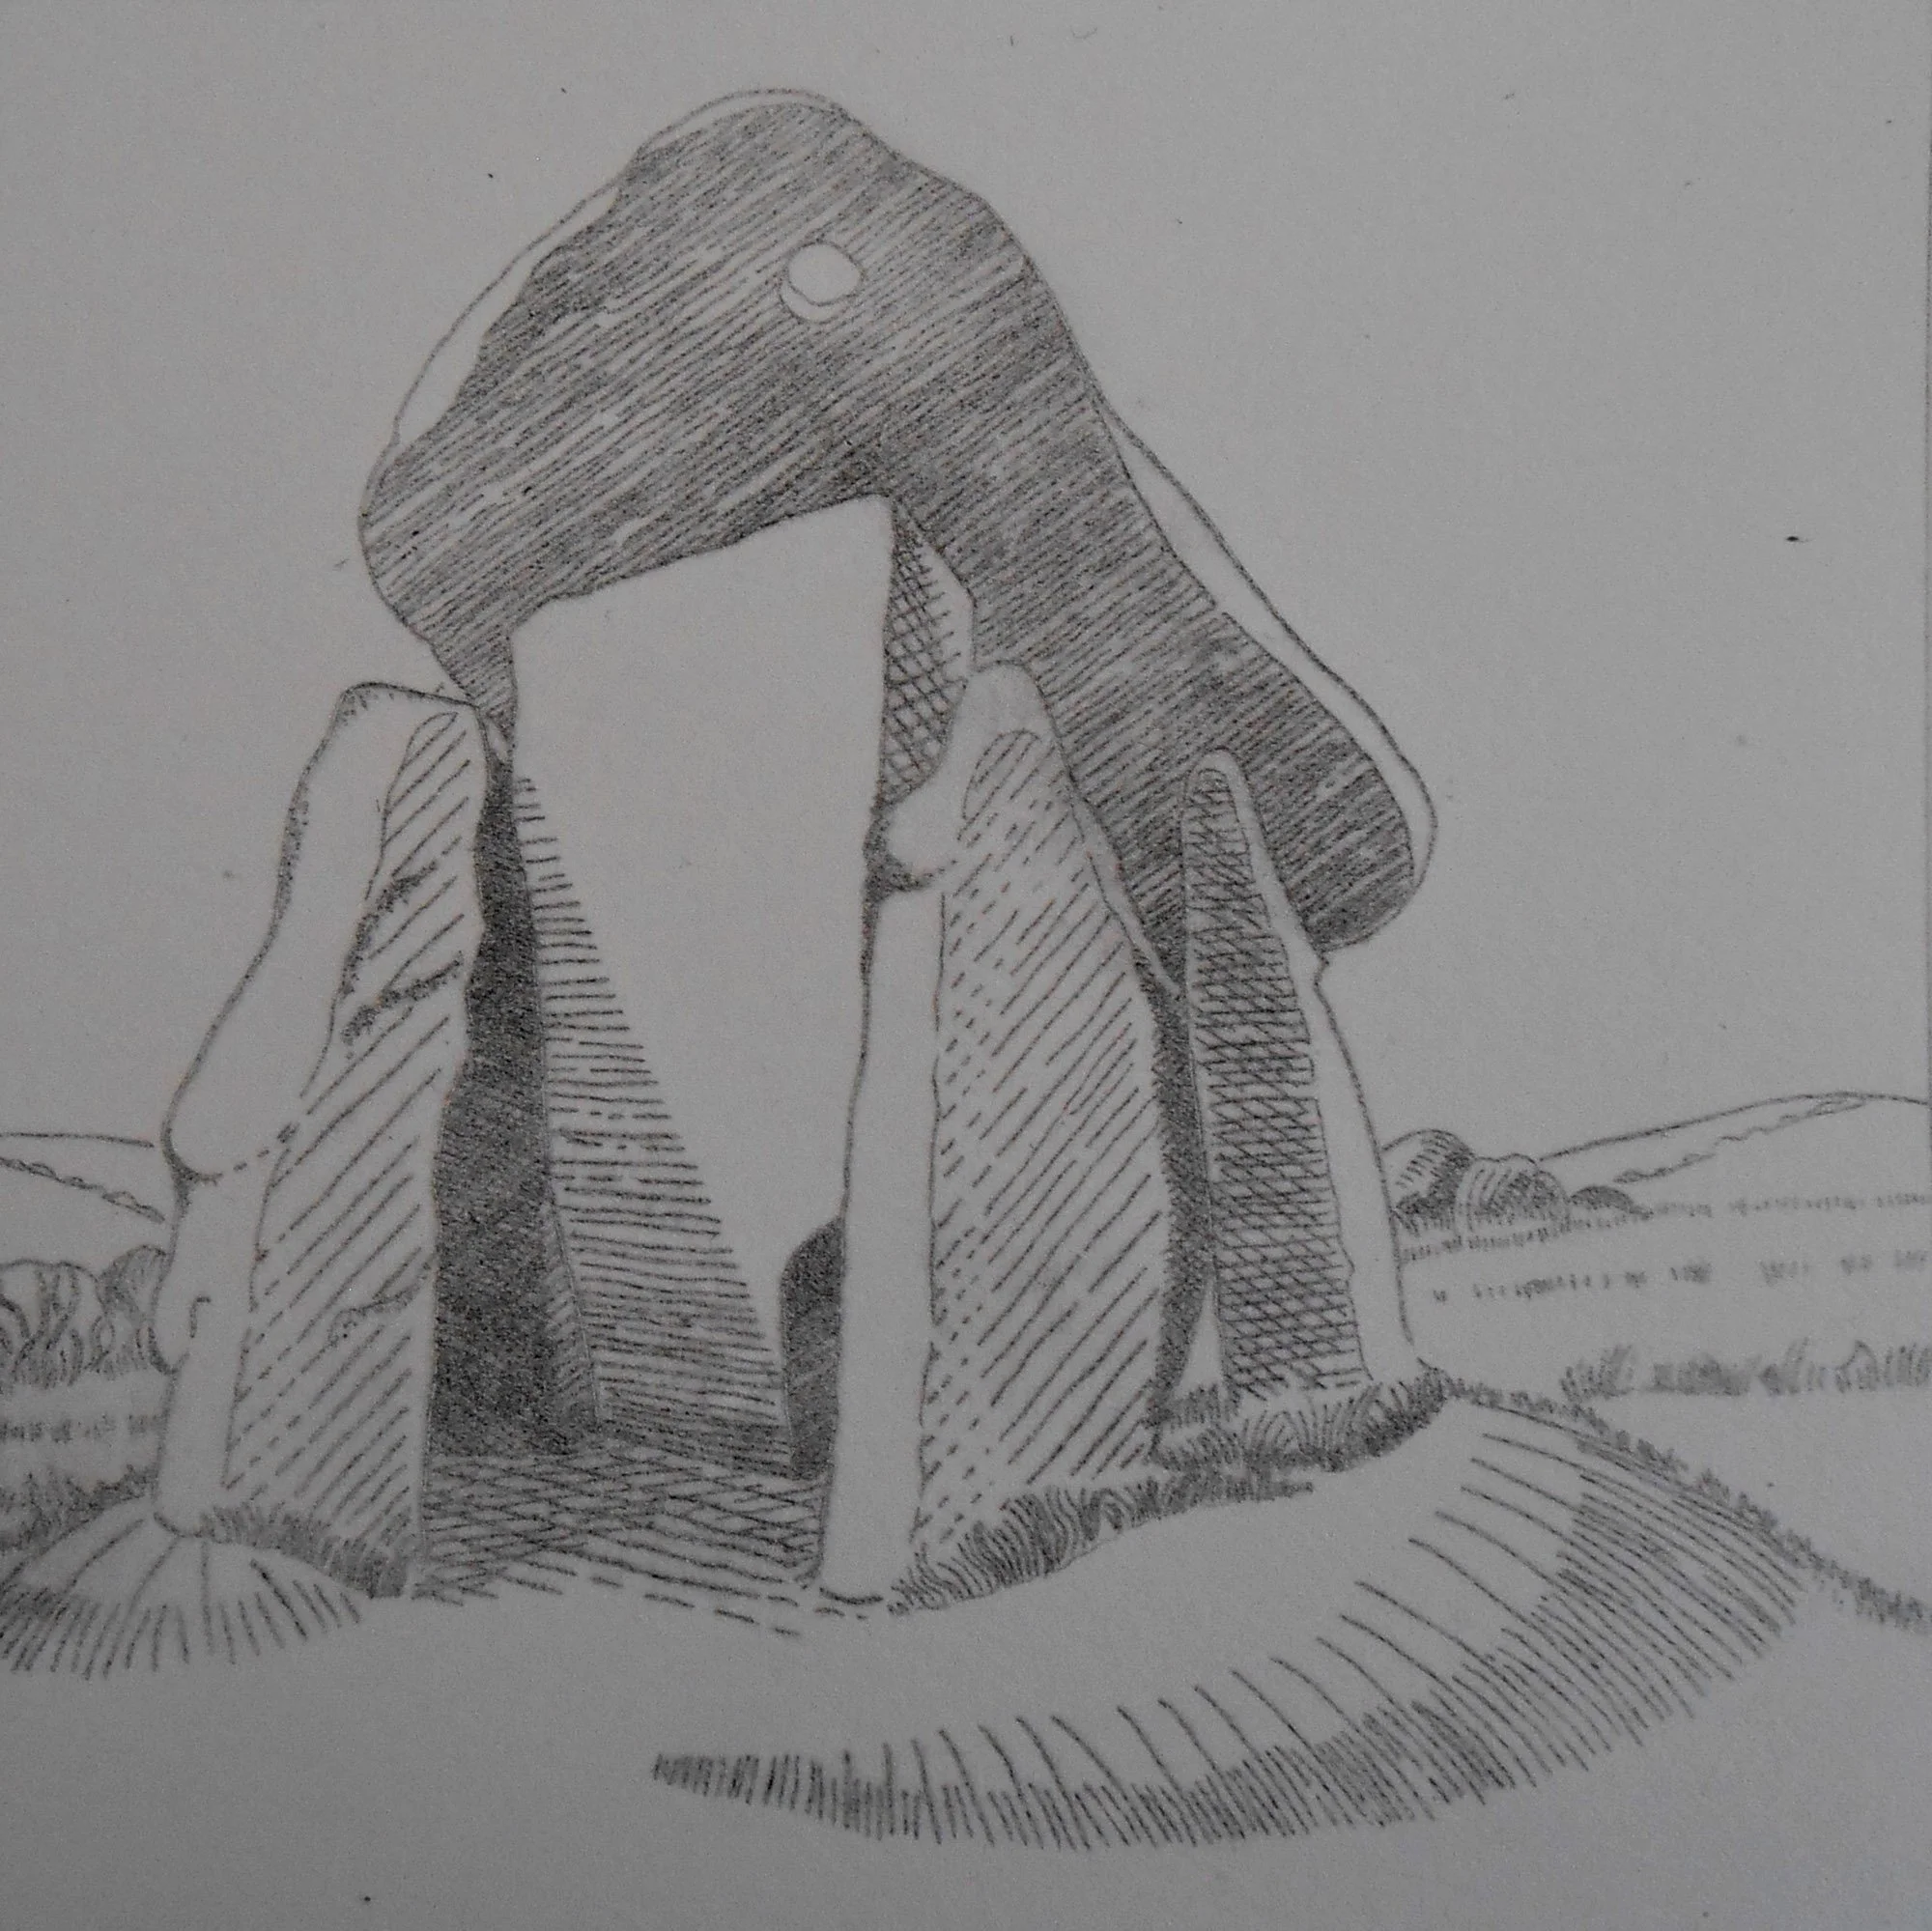
Drypoint Engraving
This is a form of engraving that goes back to the 15th Century
It is a form of intaglio printing which was traditionally made using copper or zinc plates. Mine are made using a special plastic designed for the purpose.
To make a Drypoint print you:
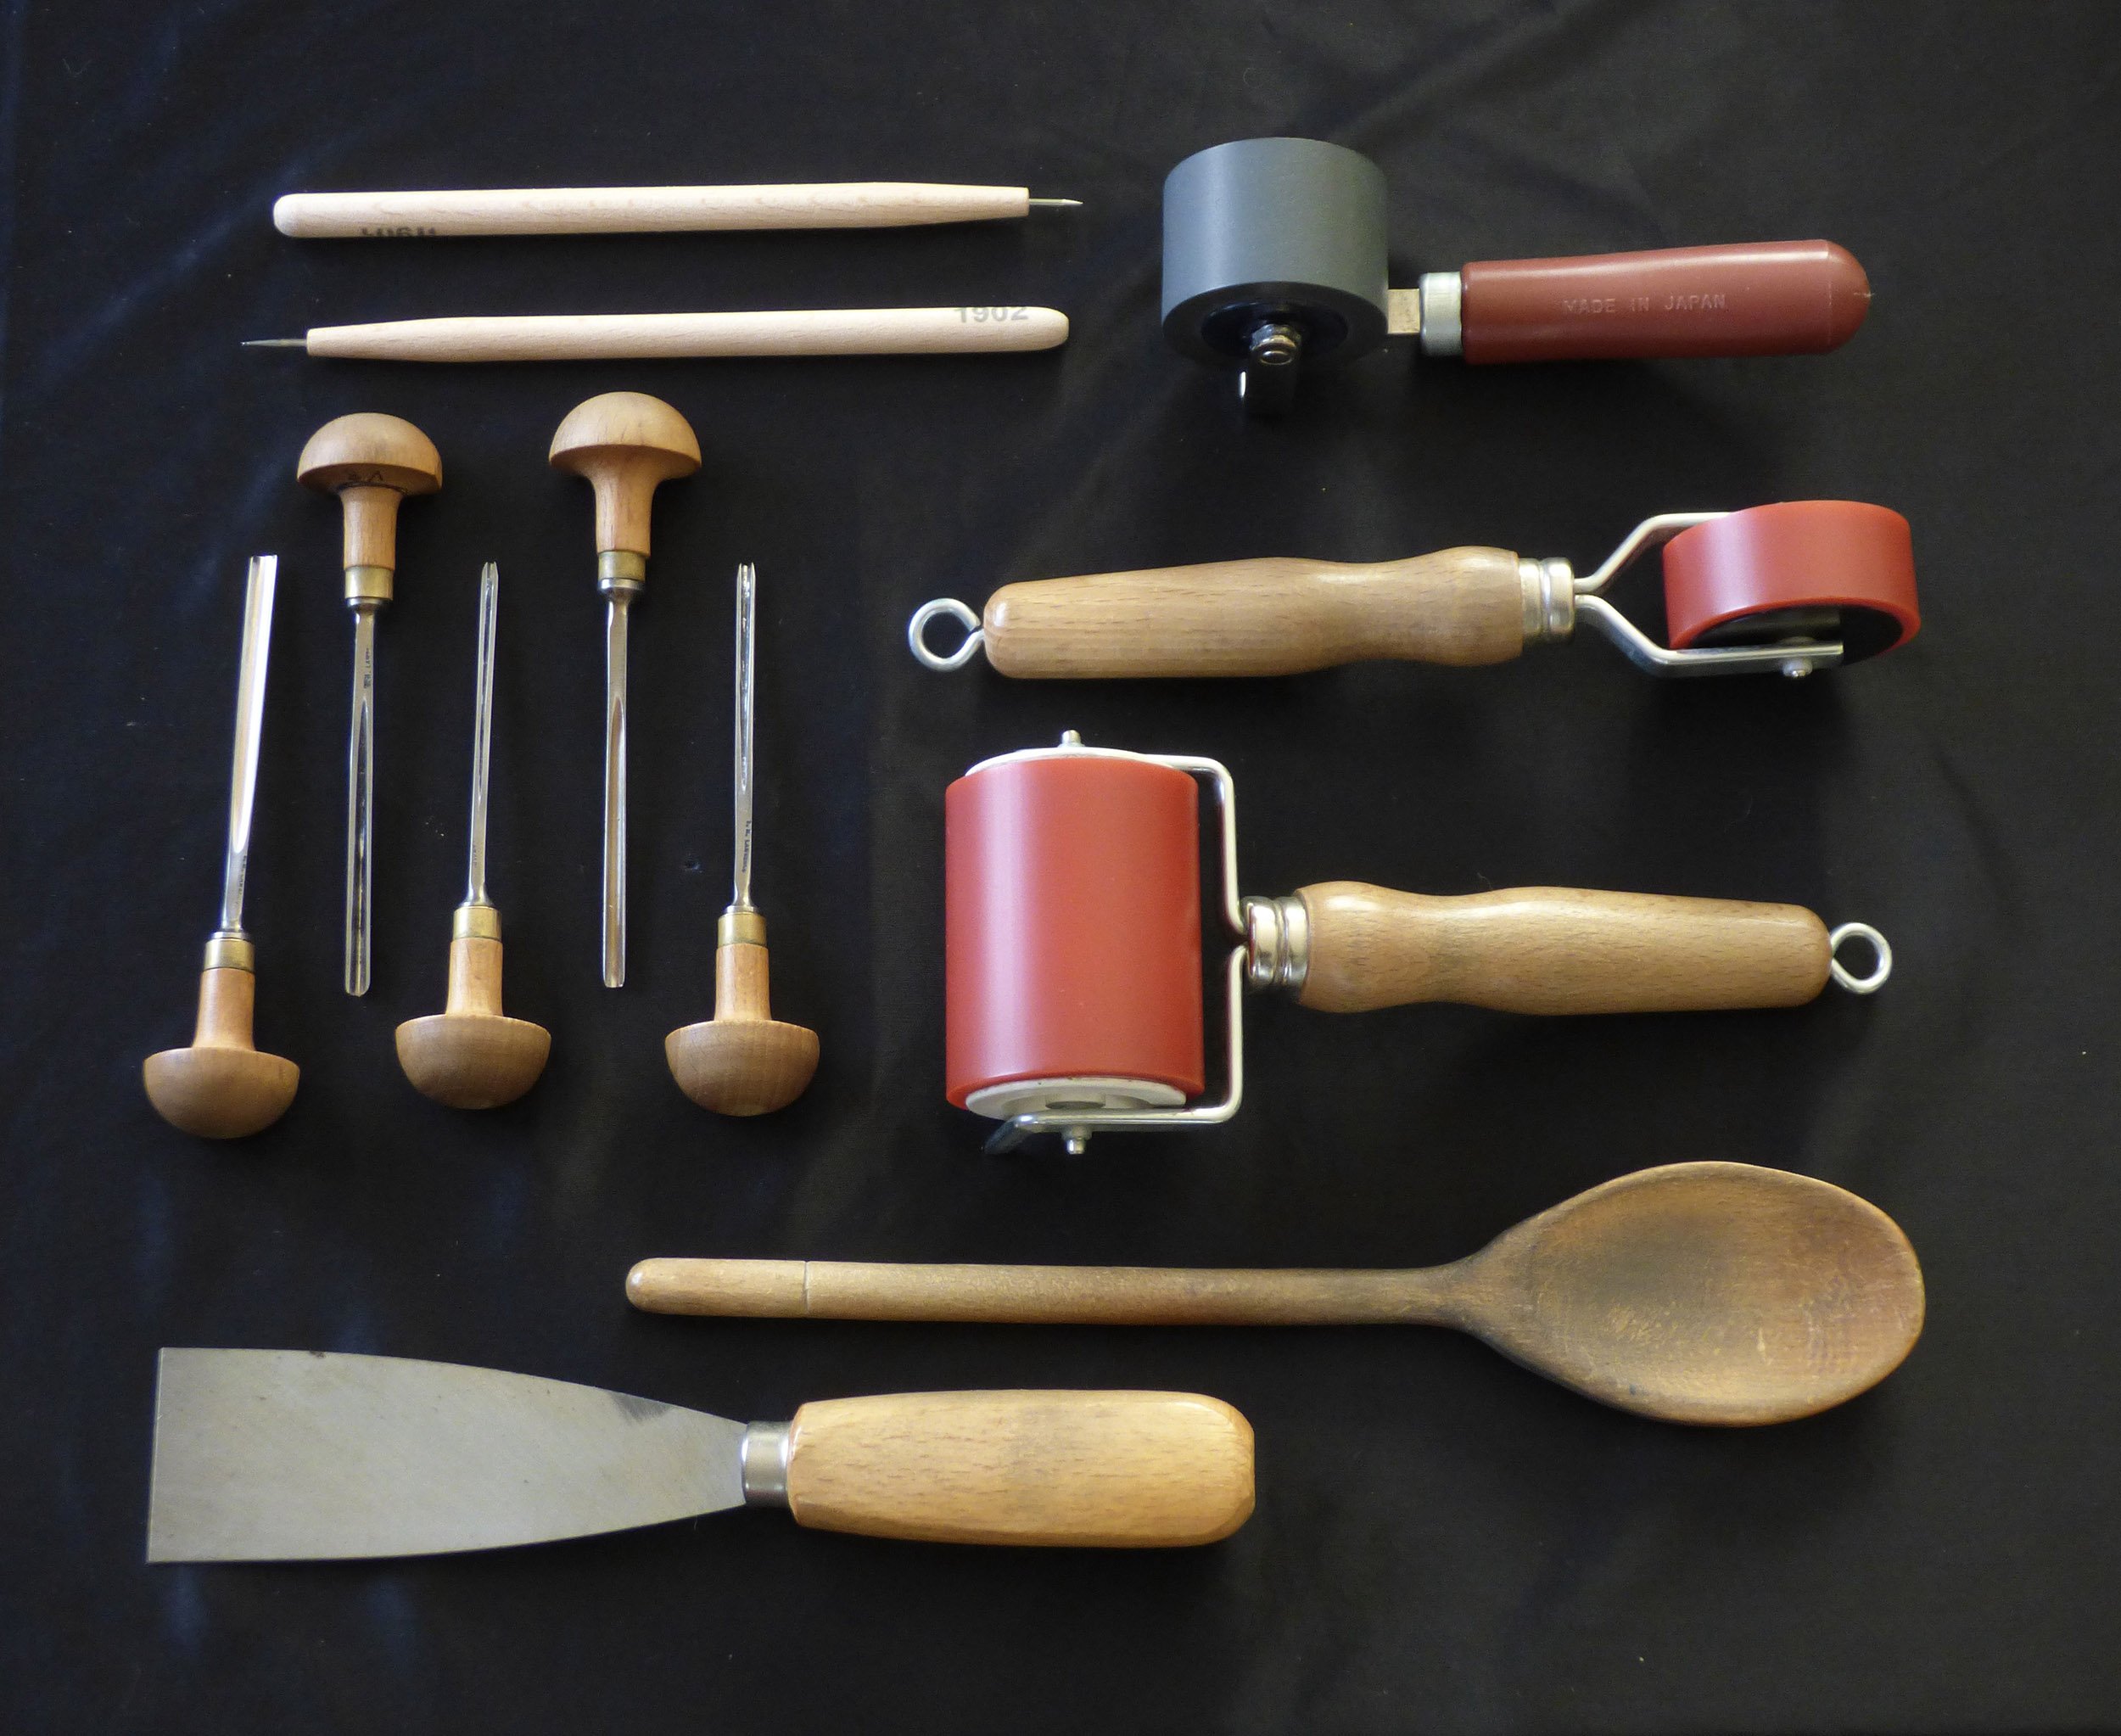
Firstly: inscribe lines using a variety of needles and other tools. Tone can be built up using hatching or sandpaper. When lines are incised, a small burr is created, which when inked up gives a slightly fuzzy line – one of the characteristics of Drypoint engraving.
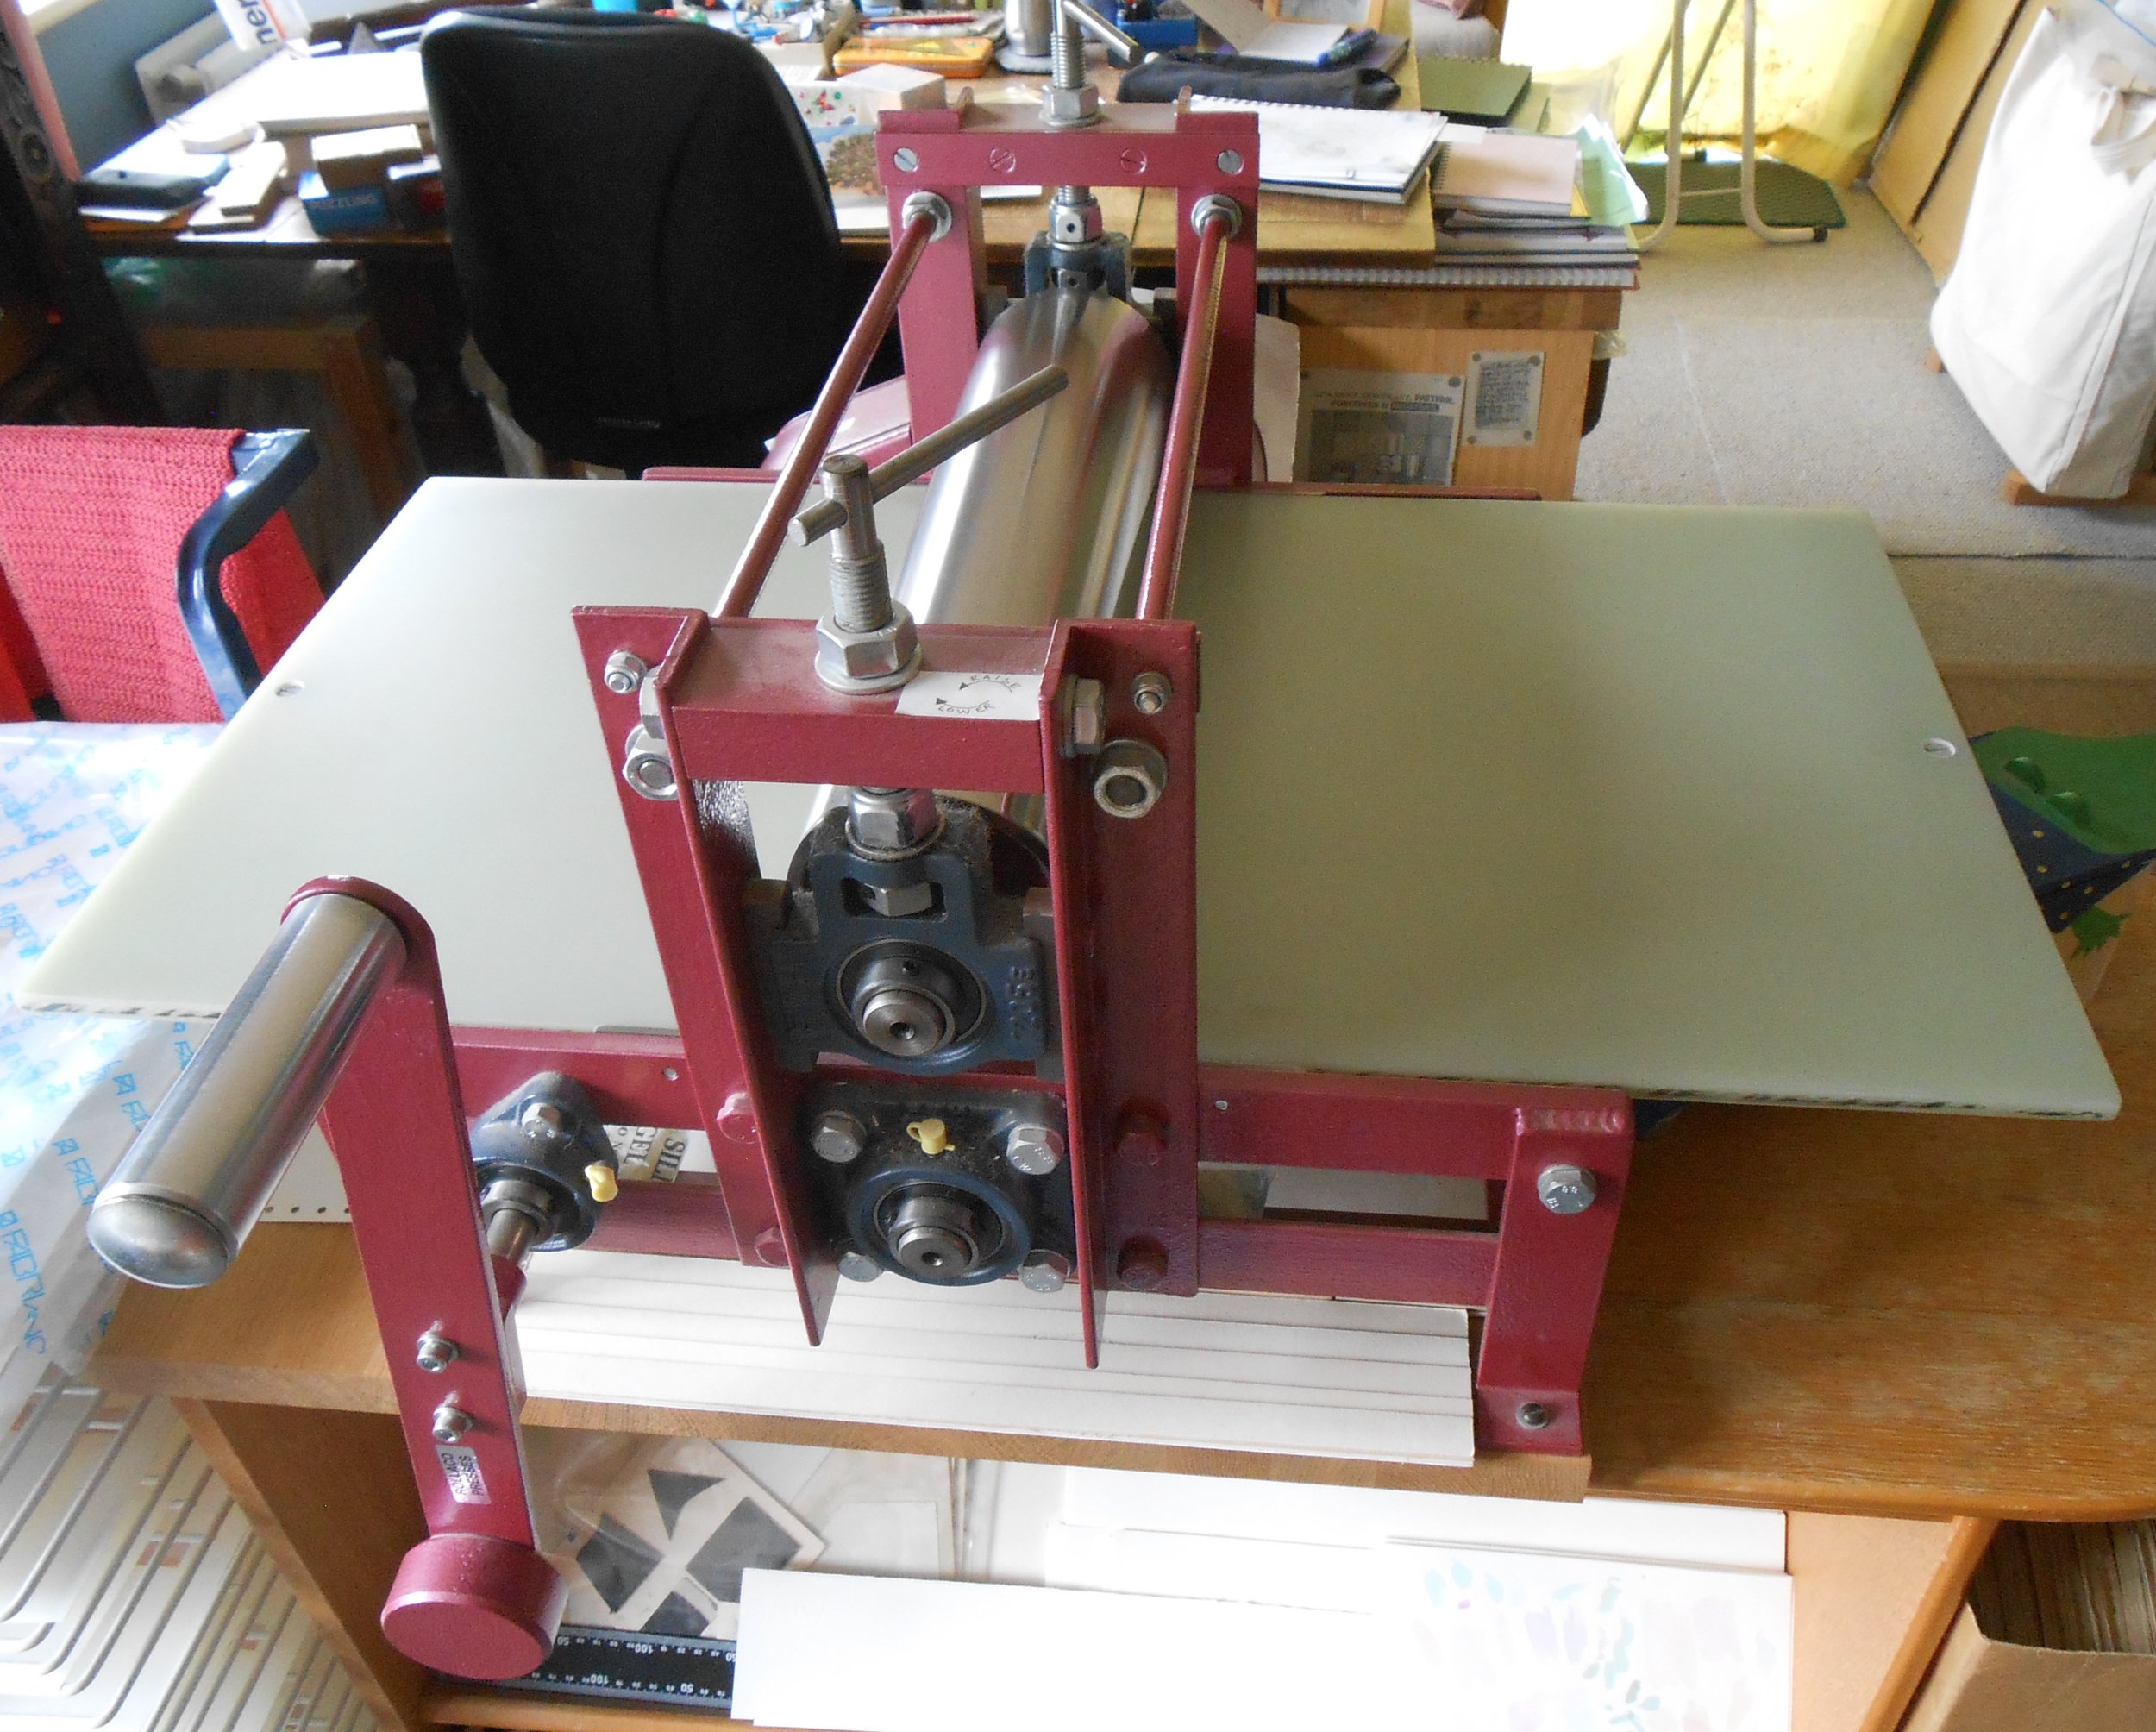
Secondly: The plate is inked up by working the ink into all the grooves using a dabber.
Thirdly: All the excess ink is wiped off the plate, so that just the grooves and the raised burr retain ink.
Fourthly: A heavy printing paper is dampened and placed on the inked plate and the whole lot goes through the press under great pressure to push the paper into the inky grooves and make the print.